Author: Dave Tappan

  • Beer Braised Ribs

    Beer Braised Ribs

    Beer Braised Ribs

    2 racks ribs

    1 cup brown sugar

    2 packs of fajita seasoning (It’s weird, but it works)

    2 tablespoons paprika

    2 tablespoons chili powder

    1 tablespoon cumin

    1 teaspoon onion powder

    1 teaspoon garlic powder

    1 can or bottle of beer

    4 cloves garlic, minced (I use Christopher Ranch in the jar)

    1 tablespoon honey

    4 tablespoons Worcestershire sauce

    1 tablespoon yellow mustard

    Your favorite BBQ sauce, for serving

    Mix the brown sugar, fajita seasoning, cumin, chili powder, onion powder, garlic powder and paprika in a bowl. Rub both sides of the ribs with the rub. If you have the time, place the ribs in a large baking pan, cover and refrigerate overnight. Otherwise, just let the rubbed ribs set at room temperature for at least an hour.

    Preheat an oven to 225 degrees. Whisk together the beer, garlic, honey, Worcestershire sauce, and mustard in a bowl. Set aside.

    Tear off 2 large sheets of heavy duty aluminum foil and lay them shiny-side down. Place a rack of spareribs on each sheet, meaty-side up. Tear off 2 more sheets of foil and place them on top of the ribs, shiny-side up. Begin tightly folding the edges of the foil together to create a sealed packet. Just before sealing completely, divide the beer mixture evenly into each packet. Complete the seal. Place the packets side-by-side on a large baking sheet.

    Bake in the preheated oven until the ribs are very tender, 1 1/2 to 2 hours. Carefully open each packet, and drain the drippings into a saucepan. You may only need the drippings from one packet. Set ribs aside. Simmer the drippings over medium-high heat until the sauce begins to thicken, about 5 minutes. Brush the thickened sauce over the ribs.

    Finish the ribs on the grill or under the broiler for just a few minutes.

    Serve with your favorite BBQ sauce.

  • Rib Eyes with Red Wine Mushroom Pan Sauce

    Rib Eyes with Red Wine Mushroom Pan Sauce

    Rib Eyes with Red Wine Mushroom Pan Sauce

    2 boneless rib-eye steaks, about 2 inches thick

    Extra virgin olive oil

    2 tablespoons butter

    8 sprigs thyme

    Garlic salt, to taste

    Red Wine Mushroom Pan Sauce

    Extra virgin olive oil

    1 stick unsalted butter, separated

    8 ounces shiitake, cremini or white mushrooms, sliced

    1 shallot, finely diced or red onion, halved and sliced into half-moons

    4 cloves garlic, finely diced

    8 sprigs thyme

    1 cup dry red wine

    1 cup beef broth

    4 tablespoons balsamic vinegar

    Kosher salt, to taste

    Fire the grill for two-zone grilling at about 500 degrees. While the grill is warming up, coat the steaks on all sides with olive oil and liberally season with garlic salt.

    Place the steaks on the grill over the fire. When you see a nice crust form, move the steak to the indirect side of the grill and top with butter and thyme to finish cooking.

    Remove the steak from the grill when it reaches your desired internal temperature. For rare, remove when it’s 120 degrees at the thickest part of the steak and let it rest for 10 minutes before serving.

    Red Wine Mushroom Pan Sauce

    Place a cast iron skillet on the grill over direct heat and add the oil and 1 tablespoon of butter. When it’s melted and slightly smoking, add the mushrooms. The pan will be hot, and you will hear a sizzle. Let the mushrooms sauté for about 3 minutes and then begin stirring them. After 3 – 5 additional minutes, the mushrooms should be browned. Next, add the shallots or onion and stir for 2 minutes to soften. Add the garlic and stir for 1 minute.

    Add the wine. It will immediately start to simmer. Then add the broth, balsamic vinegar, thyme, and salt. Stir and close the lid. Let the sauce come to a simmer and reduce by half (about 4 minutes).

    After the sauce has reduced in half, remove the pan from the heat, add the remaining 2 tablespoons of butter and stir to melt the butter. The sauce will start to thicken. Serve the sauce over the steak.

  • Pressure Cooker to Oven Pulled Pork Carnitas Tacos

    Pressure Cooker to Oven Pulled Pork Carnitas Tacos

    Pressure Cooker to Oven Pulled Pork Carnitas Tacos

    For the spice rub:

    4 tablespoons chili powder

    1 tablespoon kosher salt

    2 teaspoons ground cumin

    1 teaspoon cayenne

    1 teaspoon dried oregano

    1 teaspoon onion powder

    1 teaspoon garlic powder

    1 teaspoon paprika

    For the pulled pork:

    4 pounds (or so) bone-in pork shoulder roast, cut into two pieces.

    2 tablespoons vegetable oil

    3/4 cup pineapple juice, orange juice, chicken stock or water

    One 7oz. can chipotle in adobo

    1 jalapeno & 1 poblano (pasilla) pepper, diced

    2 limes

    Warm tortillas, corn or flour

    Toppings (pick a few!)

    Sliced avocado

    Sliced radishes

    Thinly sliced red or green cabbage

    Thinly sliced romaine lettuce

    Diced red onions

    Chopped tomatoes

    Crumbled cotija cheese

    Chopped cilantro

    Lime wedges, for squeezing

    Salsa

    Hot sauce

    In a small bowl, combine the spice rub ingredients. Pat the pork dry with paper towels.

    In a glass baking dish, marinate the pork in oil, the spices, half of the adobo (pinch the chipotles to break them up) and fresh squeezed lime juice. Marinate for at least an hour in the fridge.

    Select the “Sauté” program on your pressure cooker and add the oil to the pot. (If you are using a stove-top pressure cooker, heat the oil over medium heat.)

    Using tongs, lower the pork into the pot so the side with the most fat is facing down. Sear for 5 minutes. Flip it over and sear it for 5 more minutes. Both sides should be browned.

    Add the remaining spice rub, peppers and remaining adobo over the pork, then pour the juice, stock or water over the top.

    Place the lid on your pressure cooker. Make sure that the pressure regulator is set to the “Sealing” position. Select the “Manual” program on the pressure cooker and set the time to 60-90 minutes, depending on the size of your pork butt, at high pressure. (For stove-top pressure cookers, cook for 45-60 minutes at high pressure.)

    It will take about 10 minutes for your pressure cooker to come up to pressure, and then the actual cooking will begin.

    You can either perform a quick pressure release by immediately moving the vent from “Sealing” to “Venting” (be careful of the steam!), or you can let the pot depressurize naturally, which takes about 20 minutes. (For stove-top pressure cookers, perform a quick pressure release.) Reserve the cooking liquid.

    Pre-heat your oven to 350 degrees

    Use tongs to transfer the pork to a baking dish. Remove the bone and shred the pork with the bone, a couple of forks or your tongs. Ladle some of the cooking liquid over the pork.

    Bake for one hour or until the pork is nice and crispy and carnitas like. Add cooking liquid during cooking so the meat doesn’t dry out too much.

    Serve it in tacos with the toppings ideas.

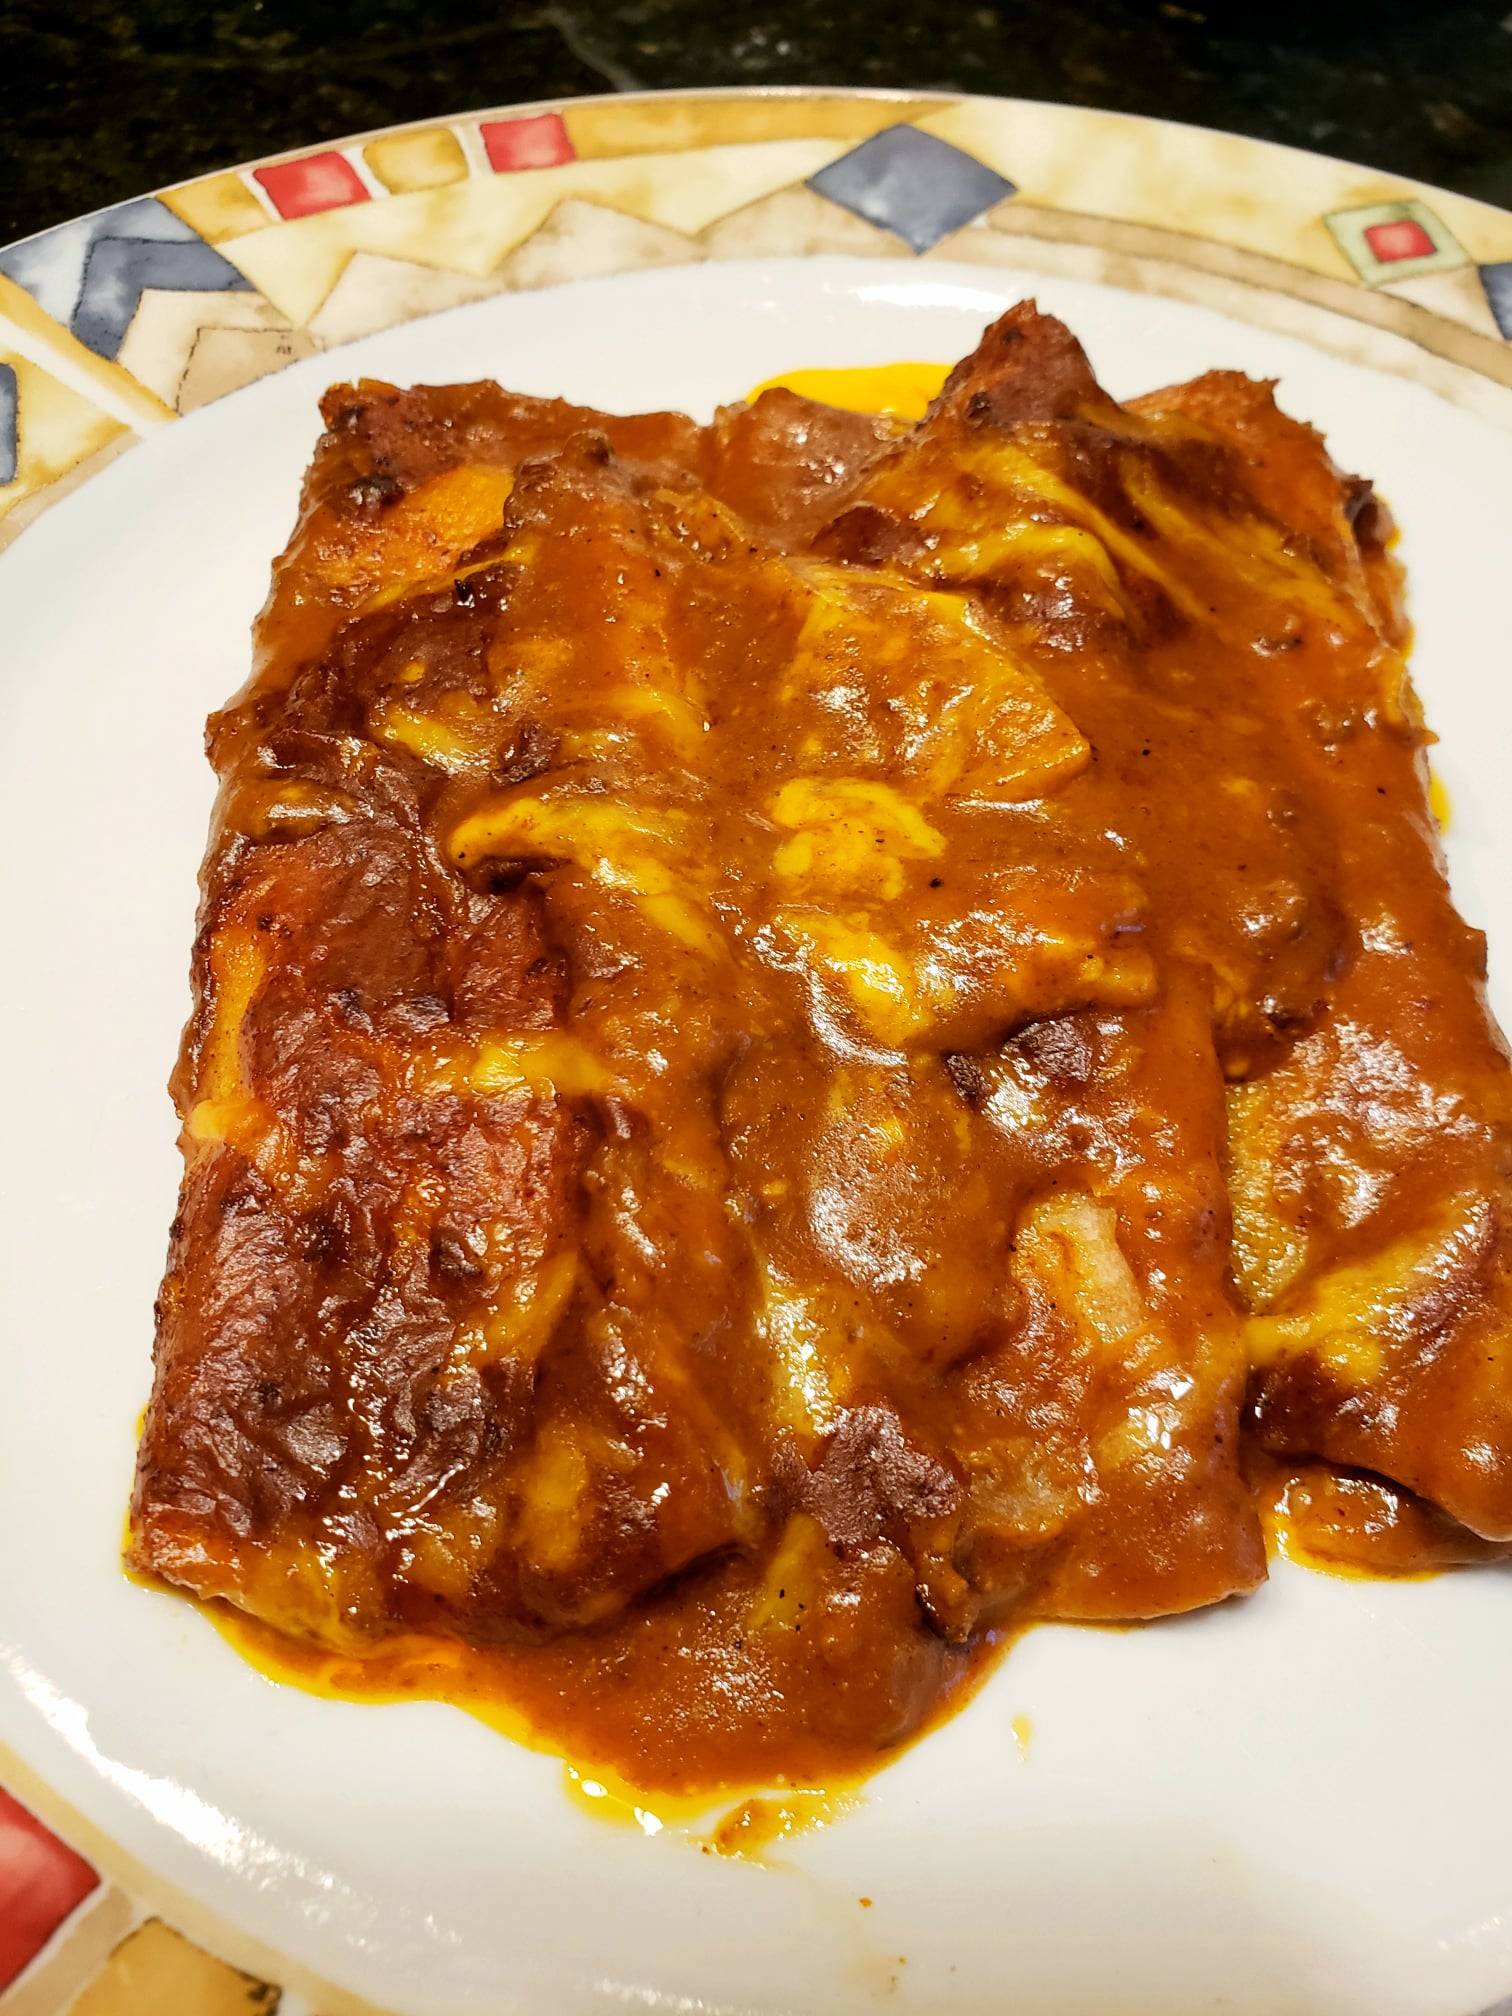
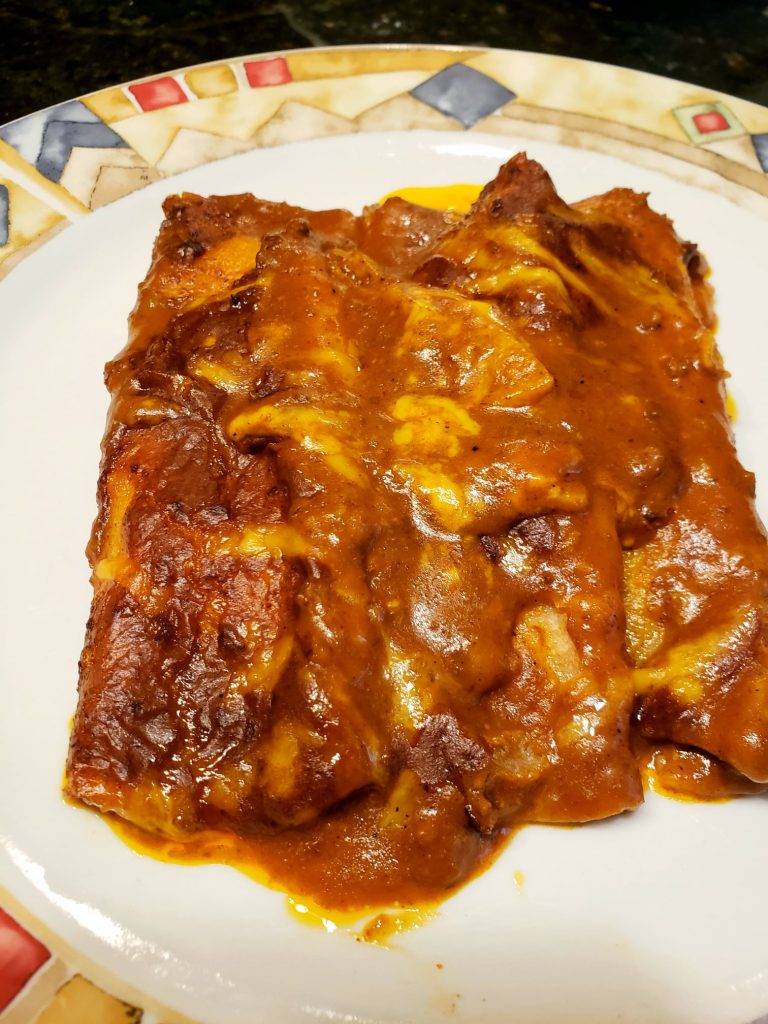
  • Chicken Enchiladas Rojas

    Chicken Enchiladas Rojas

    Chicken Enchiladas Rojas

    Red enchilada sauce, homemade or canned

    Vegetable oil, for frying

    1 medium onion, finely chopped

    2 cloves garlic, minced

    1 15-ounce can black beans, drained and rinsed

    1 rotisserie chicken, shredded, skin and bones discarded

    1 7-ounce can diced green chiles

    Kosher salt and fresh-ground pepper, to taste

    8-12 taco size, corn tortillas

    2 ½ cups Mexican blend cheese or your favorite

    Optional, assorted toppings…cilantro, chopped tomatoes, minced jalapeno, sliced black olives, sour cream, diced avocado.

    Preheat oven to 350 degrees. Lightly grease a 9×13-inch casserole dish. If making enchilada sauce, prepare and set aside.

    Heat oil in a large skillet over medium-high heat. Cook the onion until soft. Reduce the heat and add the garlic, cooking for 1 minute, stirring frequently.

    Now add the black beans, shredded chicken, green chiles, and 2/3 cup enchilada sauce. Season with salt and pepper, to taste. Mix everything together over low heat for a couple of minutes.

    Warm the tortillas in the microwave for 60 seconds in damp paper towels or a tortilla warmer pouch.

    Spread 1-2 tablespoons of enchilada sauce over the bottom of the baking dish. Spoon a line of the chicken mixture across the tortilla and sprinkle with a couple of tablespoons of shredded cheese. Roll the tortillas up and place them in a baking dish seam side down. Pour the remaining enchilada sauce over the enchiladas.

    Sprinkle with the remaining cheese and bake uncovered for about 20-25 minutes or until the cheese is melted and the enchiladas are heated through.

    If desired, garnish with additional toppings like cilantro, chopped tomatoes, sliced black olives, minced jalapeno, chopped avocados, and sour cream.

    Enchilada Sauce

    2 tablespoons ground chili powder

    1 teaspoon ground cumin

    1/2 teaspoon garlic powder

    1/2 teaspoon dried oregano

    1/4 teaspoon onion powder

    1/4 teaspoon cayenne pepper

    1/4 teaspoon kosher salt

    1/8 teaspoon ground cinnamon

    2 tablespoons tomato paste

    2 cups low sodium chicken broth

    3 tablespoons canola oil

    3 tablespoons all-purpose flour

    In a small bowl, whisk together the chili powder, cumin, garlic powder, oregano, onion powder, cayenne pepper, salt, and cinnamon in a small bowl; set aside for a few minutes. Whisk the tomato paste with 1/2 cup of the chicken broth; set it aside for a few minutes.

    Heat the oil in a skillet over medium-low heat. Whisk in the flour, cooking for 1 1/2-2 minutes. Whisk in the spices cooking for 1 minute. Whisk constantly so it does not burn. Slowly add the chicken broth, whisking constantly so there are no lumps.

    Whisk in the tomato paste/chicken broth mixture. Simmer for 5 minutes stirring and whisking frequently.

  • Air Fryer Cod Sandwiches

    Air Fryer Cod Sandwiches

    Air Fryer Cod Sandwiches

    Four 6 ounce cod fillets

    3 Eggs

    1 1/4 cups Panko

    2 tbsp Parsley

    1 cup All purpose flour

    1 tsp garlic powder

    Kosher salt, to taste

    Cayenne pepper, to taste

    1 tsp smoked paprika

    Good quality buns

    Hot sauce

    Coleslaw

    4 cups pre-chopped coleslaw mix

    2/3 cup Mayonnaise

    2 tbsp Apple cider vinegar

    Juice from one lemon

    Kosher salt and fresh-ground pepper, to taste

    2 tbsp Granulated sugar

    2 tbsp Sriracha

    For the coleslaw, combine the mayonnaise, apple cider vinegar, lemon juice, salt, pepper, sugar and sriracha. Stir it well until a dressing is formed. Add the coleslaw mix to the bowl and toss in the dressing. Set aside in the fridge.

    To make the fish, pat dry the fillets and season on both sides with salt and pepper. Using three separate bowls, prepare the breading ingredients. In one bowl whisk the egg with hot sauce, in another bowl mix together the flour, salt, pepper, paprika, cayenne pepper and garlic powder. In the third bowl, mix together the breadcrumbs and parsley.

    Dip each cod fillet into the flour mix, next into the egg then the panko breadcrumbs until well coated.

    Transfer the breaded fillets to a preheated air fryer and spray each with cooking spray. Cook at 400F for 10-12 minutes.

    To assemble your sandwich, spread some of the guacamole on the bottom of the bun, add the fried cod and hot sauce if you like it spicy then finish with the Cole slaw. Cover with the top bun and enjoy with a side salad or chips.

    Grilled Guacamole

    3 avocados, halved and pitted

    2 large jalapenos, halved and seeded

    2 medium cloves garlic, ground into a paste with kosher salt or grated

    1 small red onion, finely chopped

    Juice of 1 lemon

    Juice of 1 lime

    Kosher salt, to taste

    Heat a grill pan to medium heat and place the avocados and jalapenos in the pan cut-side down. Grill until the avocados and jalapenos start to char, 3 to 5 minutes.

    In a medium bowl, douse the garlic and onions with the lemon and lime juices. Season liberally with salt and set aside to allow the flavors to marry.

    Scoop the avocado flesh from the skins. Place a metal cooling rack over the bowl. Working with one half at a time, place the avocado cut-side down on the rack and press down, pushing it through the rack.

    The rack will dice it as its being added to the bowl. Repeat for the remaining halves. Finely chop the jalapenos and add to the guacamole. Mash with a fork until fairly smooth. Adjust the salt, and then serve.

  • Meatball Subs

    Meatball Subs

    Meatball Subs

    1 lb. ground beef

    1/2 lb. ground pork (not sausage)

    Kosher salt & fresh-ground pepper, to taste

    1/2 teaspoon garlic powder

    2 teaspoons Italian seasoning

    Splash of milk

    1 egg

    3/4 Panko

    3/4 cup fresh-grated Parmesan

    1/4 cup fresh Italian parsley

    32 ounces homemade or jarred marinara

    Fresh Mozzarella

    4 French or hoagie rolls

    Giardiniera, for serving

    Butter

    Mix ground beef, pork, salt & pepper, garlic powder, Italian seasoning Panko, parsley, egg, milk and Parmesan in a bowl. Use your hands to mix.

    Roll the meatball mixture into large balls, depending on the desired size. Heat extra-virgin olive oil in a large skillet over medium-high heat. Once the oil is heated, add the meatballs and cook for 5-7 minutes, turning to brown all sides.

    Meanwhile, make your own homemade marinara sauce or heat jarred marinara sauce in a large pot. Once the meatballs have browned, remove from the oil and place in the pot of simmering marinara sauce. Let cook on low heat for about 20 minutes, or until meatballs are cooked through.

    Cut bread in half, making sure not to cut all the way through. Spread butter over both sides of the bread. Put oven on the broil setting. Heat until the butter is completely melted and remove from the oven. Watch carefully as it can easily burn.

    Place cooked meatballs and sauce onto the bread and generously cover with mozzarella. Return to the oven and cook until the cheese is melted, about 2 minutes. Top with fresh Italian parsley and serve immediately with extra sauce on the side for dipping. Top with giardiniera, if you like.

  • Louisiana Style Barbecued Shrimp

    Louisiana Style Barbecued Shrimp

    Louisiana Style Barbecued Shrimp

    Use head on, unpeeled, tail on shrimp if you can. The head and shell has a lot of flavor in them and makes for a really great sauce. This dish can be done in the oven or your gas grill.

    3 lbs head on, unpeeled, tail on shrimp

    3 sticks unsalted butter

    1/4 cup extra-virgin olive oil

    ¼ cup dry white wine (not chilled, room temp)

    3 tablespoons minced garlic (I use Christopher Ranch in the jar)

    1 onion, halved and sliced into thin half moons

    1 bunch green onions, chopped coarse

    Fresh parsley, chopped

    3 tablespoons Worcestershire

    1 tablespoon Old Bay

    1 tablespoon Cajun seasoning

    Kosher salt & fresh ground pepper, to taste

    Hot pepper sauce, to taste (I like Pick A Peppa)

    1 or 2 lemons halved and sliced into rings

    Squeeze of lemon juice into the butter/olive oil mix

    Melt 2 sticks of the butter and add the olive oil. Add seasonings and all remaining ingredients (except the shrimp, 3rd stick of butter and lemon slices) and mix. Taste and adjust seasoning as desired. You want a rich and deep seasoned sauce that will meld together as it cooks. The sauce will mellow a bit when the shrimp release their juices.

    Preheat your oven or gas grill to 325

    Put rinsed and drained shrimp along with lemon slices in a 9×13 baking dish sprayed with Pam.

    Add all remaining ingredients into the baking dish. Pour on the seasoned butter and olive oil seasonings mixture. Toss to coat well. Cut the 3rd stick of butter into pats and evenly dot the entire dish.

    Place the dish into your oven or on your gas grill (lid closed) and bake at 325 for 30 to 45 minutes. It depends if you have a single layer of shrimp which will cook faster, or a bunch of shrimp stacked up. Stir the dish every 10-15 minutes.

    Check after 30 minutes for doneness. The last thing you ever want to do, is over cook shrimp. It gets tough and rubbery and it’s not good.

    Remove the head, peel the shrimp and enjoy! Have plenty of good, crusty bread on hand for sopping up all the goodness.

  • Crispy, Baked Korean Wings

    Crispy, Baked Korean Wings

    Crispy, Baked Korean Wings

    Wings

    2 pounds chicken wings, flats and drums

    1/2 tablespoon baking powder

    Kosher salt and fresh, ground pepper, to taste

    1 teaspoon onion powder

    1 teaspoon garlic powder

    Korean sauce

    3 tablespoons gochujang paste, or chili-garlic paste

    2 tablespoons soy sauce

    2 tablespoons rice wine vinegar

    2 tablespoons honey

    1 tablespoon sesame oil

    1 inch knob fresh ginger, peeled and grated

    4 cloves garlic, minced

    Lime wedges, for squeezing

    Toasted sesame seeds, cilantro and sliced green onion, for garnish

    To bake super crispy wings in the oven, you need to start with the secret ingredient. That magic thing is baking powder. By coating your wings in a light sprinkling of seasoned baking powder, you are guaranteed that crunchy crispy chicken skin that makes the perfect wings.

    Start by combining baking powder, salt and onion powder in a small bowl. Pat your naked chicken wings with paper towels to remove as much moisture as possible and then add them to a separate mixing bowl, one large enough to toss your wings around without them flying out.

    Sprinkle half of your baking powder mixture on your wings and toss to coat. Sprinkle the remaining mixture and toss again until your wings are evenly coated.

    Preheat oven to 450 degrees and line a large baking sheet tray with foil and then add an oven safe wire rack on top of your foil. Lightly spray your rack with non-stick spray.

    Lay your chicken wings out on the wire rack so that there is plenty of space between them to ensure they cook evenly.

    Cook wings for 30 minutes then flip your wings and return to oven for an additional 20-25 minutes.

    While your wings are baking, make your Korean sauce. Add gochujang sauce, soy sauce, rice wine vinegar, honey, sesame oil, ginger and garlic powder to a small sauce pan and heat over medium high heat, stirring occasionally.

    Once your sauce reaches a slow boil, reduce the heat to medium and simmer for 15 minutes. Your sauce will start to reduce and thicken. Remove from heat and set aside.

    Once your wings are done, remove them from the oven and to a large mixing bowl. Pour your spicy Korean sauce on top and toss to coat.

    Top with toasted sesame seeds and chopped cilantro, or green onion, or both! Serve with lime wedges.

  • Bacon Blue Cheese Burger with Caramelized Onions

    Bacon Blue Cheese Burger with Caramelized Onions

    Bacon Blue Cheese Burger with Caramelized Onions

    For the burgers

    2 pounds freshly ground chuck (or R&R patties)

    1 tablespoon onion powder

    A few dashes of Worcestershire sauce

    Kosher salt and fresh-ground pepper, to taste

    8 ounces blue cheese, sliced or crumbled from a wedge

    12 slices thick-cut bacon, cooked and drained on paper towels

    6 large Hamburger buns

    For the caramelized onions

    2 tablespoons olive oil

    2 large yellow onions, thinly sliced

    Kosher salt, to taste

    Heat the olive oil in a large, heavy-bottomed saucepan on medium heat. Add the onions, stir briefly to coat with oil and cook without stirring for 10-12 minutes.

    Flip so that the onions on the bottom of the pot are now on top, and cook for another 10-12 minutes. Flip one more time, lower heat and allow onions to caramelized until completely brown — about 15 minutes — gently stirring occasionally. Remove from heat and set aside. These can be reheated before you put the burgers together.

    In a large bowl, mix ground beef, onion powder, Worcestershire and salt and pepper until just combined. Do not over-mix, or your patties will be tough.

    Divide into six portions and form patties, without pressing too hard. They should be uniform in thickness. Smooth out any cracks using your fingers. Make these right before you grill them, so they stay at room temperature.

    Preheat your grill, grill pan or cast-iron skillet to high heat and add burger patties. If using a grill, cover with the lid.

    Cook until the crust that forms on the bottom of the burger releases it from the pan or grate — about 2 minutes. Gently test, but don’t flip it until it gets to this point. When burgers lift up easily, flip, add enough blue cheese to cover completely, close lid if using a grill, and cook on the other side for another 2-3 minutes for medium to medium rare.

    Remove patties carefully using a metal spatula and transfer to buns. Top with caramelized onions and bacon and serve immediately.

  • Smoked Gouda-Chorizo Jalapeno Poppers and Mexican Tri-Tip

    Smoked Gouda-Chorizo Jalapeno Poppers and Mexican Tri-Tip

    Smoked Gouda-Chorizo Jalapeno Poppers and Mexican Tri-Tip

    1 pound Mexican chorizo (If using links, remove the casings)

    1/2 pound smoked gouda, shredded

    1/4 cup finely chopped red onions

    One 4 ounce package cream cheese

    Hot sauce ( I like Tapatio for this)

    Kosher Salt and fresh-ground black pepper, to taste

    12 large jalapeno peppers, stemmed, seeded and halved

    Pre-heat your smoker for 225 degrees. I’m gonna use some nice sweet apple pellets for this cook.

    Slice the peppers in half, lengthwise and set aside.

    In a large bowl, mix the gouda, onions, cream cheese, hot sauce, salt and pepper and chorizo until completely combined.

    Stuff the peppers with the cheese mixture. Put the stuffed peppers in a large foil pan or heavy baking sheet and place in the smoker. Smoke at 225 for 1 ½ to 2 hours. “Pop” them in your mouth and enjoy!

    Mexican Tri-Tip Rub

    1/4 cup chili powder

    3 tablespoons ground cumin

    1 tablespoon each paprika, crushed red pepper and Kosher salt

    1 1/2 teaspoons each garlic powder, onion powder, dried oregano and fresh-ground black pepper

    Mix everything together in an air tight jar.

    Smoked Mexican Tri-Tip

    One 2-3 pound Tri-Tip. If you buy one that is un-trimmed, clean it up pretty well. You don’t want a lot of fat in tacos.

    Pre-heat your smoker to 225 degrees. When it comes to tri-tip, I usually like to use a competition blend pellet, but in this case with the Mexican rub, I will use something sweeter, like apple or pecan.

    Smoke the meat for about 1 ½ to 2 hours at 225. Using a digital thermometer, take the tri-tip off the smoker at 140 degrees and wrap in heavy duty aluminum foil. Let it rest at room temperature until you’re ready to slice.

    For the tacos, slice the tri-tip in half with the grain, then slice the halves in strips against the grain.

    Build your tacos with your choice of toppings and enjoy!

    Tacos

    Flour or corn tortillas grilled or slightly charred over a gas flame

    Topping ideas

    Shredded lettuce

    Diced white onion

    Diced tomato

    Pico de Gallo

    Guacamole

    Sliced radish

    Fresh cilantro leaves

    Sour cream or crema

    Queso fresco, Cotija or shredded Monterey Jack cheese