

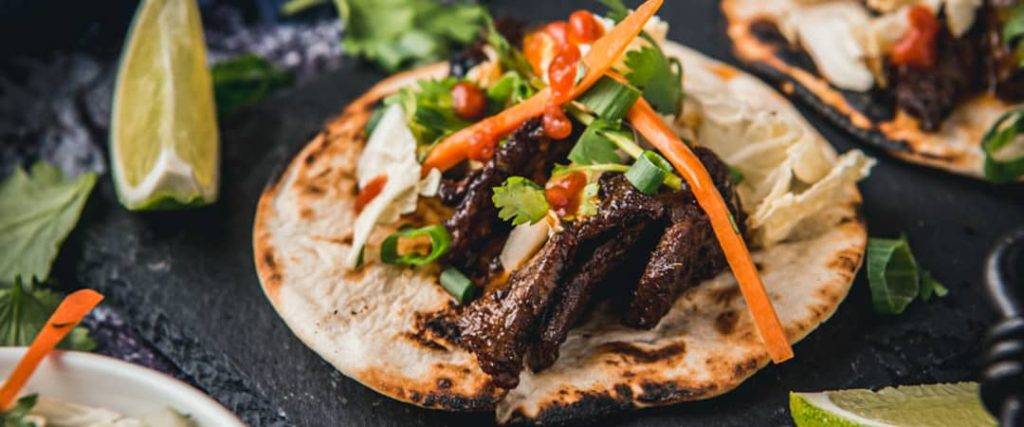
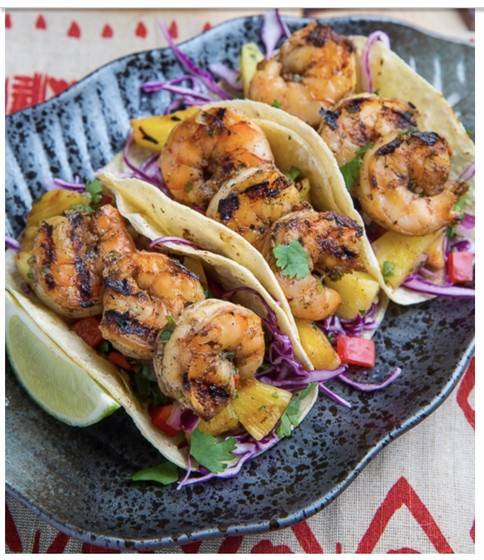
Happy Friday!I found my recipe for Korean tacos. I’m gonna fire the Ninja this weekend.
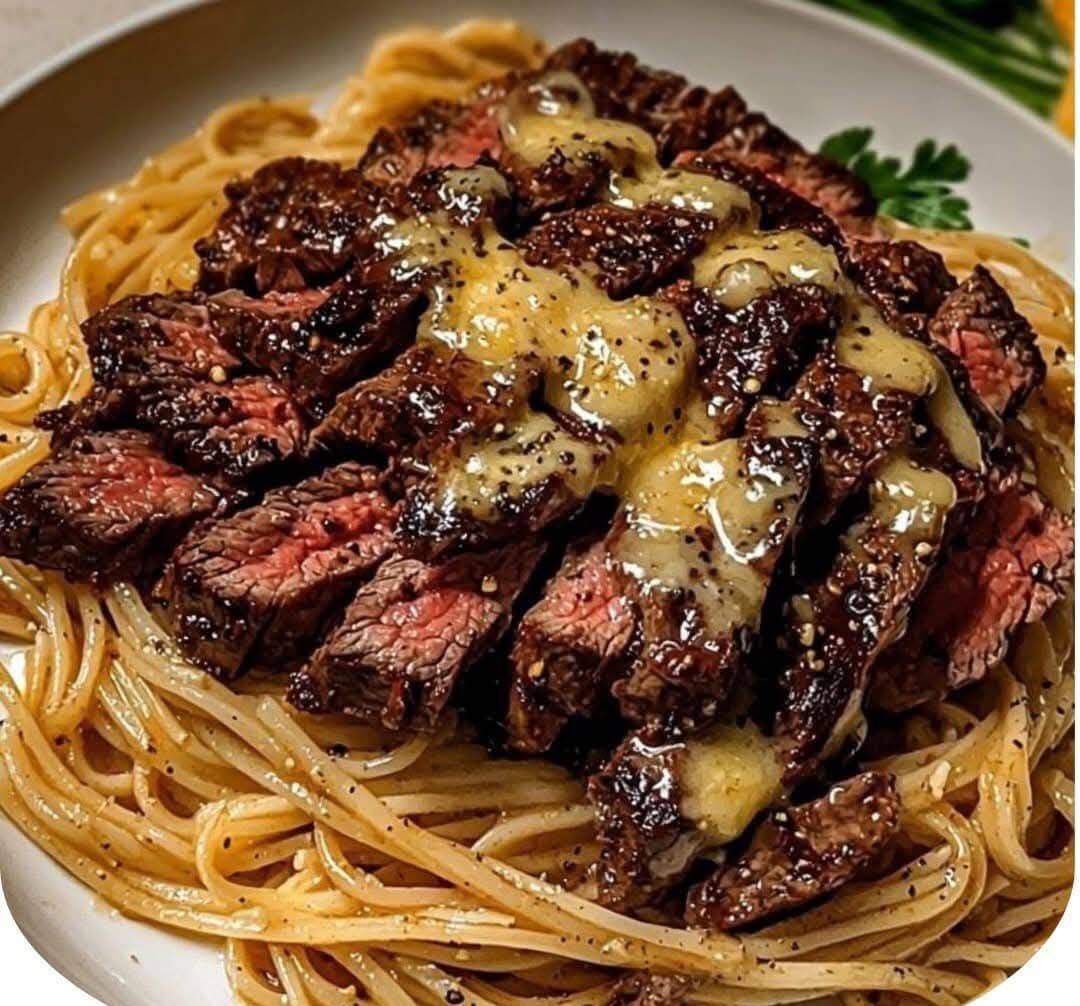
3 pounds boneless beef short ribs
Flour or corn tortillasLime wedges, for squeezing Marinade
1 cup sodium soy sauce
1/2 cup mirin
1/2 cup brown sugar
1/4 cup sesame oil6 cloves garlic
6 scallions
One inch knob, peeled & grated
fresh ginger
Asian Slaw
Napa cabbage roughly chopped
Matchstick radish or daikon
Matchstick carrot
Chopped scallions
Fresh cilantro, coarsely chopped
Soy Lime Dressing
2 limes juiced
1/4 cup soy sauce
2 tablespoons mirin
2 tablespoons Sriracha
2 tablespoons olive oil
Trim any excess fat from the meat, then thinly slice into 1-1/2 inch pieces. Place in a 1-gallon size plastic bag.In a food processor or blender, combine soy sauce, mirin, sugar, sesame oil, garlic, scallions, and ginger. Pour half into the bag with the sliced meat and marinate for at least 2 hours and up to 24 hours.Place the other half of the soy mixture into a saucepan and reduce over medium heat until thickened and reduced by at least half. It should get darker and thicker.
Place the cabbage, radish, and scallions in a large bowl.
In a small bowl, whisk together the lime juice, soy sauce, mirin, and Sriracha. Do not dress slaw until right before you plan on assembling the tacos. Toss the dressing on the prepared cabbage.
Heat a griddle, cast iron skillet or grill over high heat. Flash-sear the meat in a single layer. Cook 2 to 3 minutes per side. Remove from heat (keep warm until you assemble the tacos).Grill your tortillas for approximately 30 seconds on each side.
On top of the grilled tortilla, pile the Asian slaw, and cooked beef, drizzle with the reduced marinate, and a splash of Sriracha.

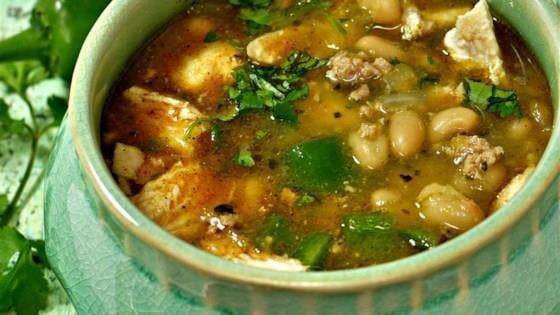
 Here’s a chili I first had years ago at a Super Bowl party. It was the creation of our good friend Kelly Stutchman.
Chicken and White Bean Chili
2 -15-ounce cans white beans, drained 1 Tbsp olive oil 2 medium onions, chopped 2 cloves garlic, minced 4 teaspoons ground cumin 1 teaspoon garlic powder 1 teaspoon onion powder 1 teaspoon Old Bay 2 4-ounce cans chopped green chilies 2 teaspoons dried oregano 1 jalapeno, minced 4 pounds boneless, skinless chicken breasts and diced into 1/2 inch pieces 4 cups chicken stock (more as needed)
Topping ideas: Grated Monterey Jack cheese Sliced radish Fresh cilantro, roughly chopped Lime wedges for squeezing Tortilla chips Scallions, sliced Sliced avacado or guacamole Chopped roma tomatoes
In a large thick-bottomed stock pot, sauté onions in olive oil on medium high heat, until tender, about 4 minutes. Add the garlic, cumin, garlic powder, onion powder, Old Bay and cayenne and cook a minute more. Add the green chiles and dried oregano. Add the minced jalapeño.
Add the chicken and chicken stock. Increase the heat to high, bring to a simmer, lower the heat to low, cover and maintain the simmer for about 1 hour, or until the chicken is cooked through.
Add the drained beans and cook for 20 minutes more. Taste for seasonings and add more salt to taste.
Serve with toppings.
Here’s a chili I first had years ago at a Super Bowl party. It was the creation of our good friend Kelly Stutchman.
Chicken and White Bean Chili
2 -15-ounce cans white beans, drained 1 Tbsp olive oil 2 medium onions, chopped 2 cloves garlic, minced 4 teaspoons ground cumin 1 teaspoon garlic powder 1 teaspoon onion powder 1 teaspoon Old Bay 2 4-ounce cans chopped green chilies 2 teaspoons dried oregano 1 jalapeno, minced 4 pounds boneless, skinless chicken breasts and diced into 1/2 inch pieces 4 cups chicken stock (more as needed)
Topping ideas: Grated Monterey Jack cheese Sliced radish Fresh cilantro, roughly chopped Lime wedges for squeezing Tortilla chips Scallions, sliced Sliced avacado or guacamole Chopped roma tomatoes
In a large thick-bottomed stock pot, sauté onions in olive oil on medium high heat, until tender, about 4 minutes. Add the garlic, cumin, garlic powder, onion powder, Old Bay and cayenne and cook a minute more. Add the green chiles and dried oregano. Add the minced jalapeño.
Add the chicken and chicken stock. Increase the heat to high, bring to a simmer, lower the heat to low, cover and maintain the simmer for about 1 hour, or until the chicken is cooked through.
Add the drained beans and cook for 20 minutes more. Taste for seasonings and add more salt to taste.
Serve with toppings.

 The NFL playoffs continue this Saturday and Sunday and the Rams and Vikings meet tonight. I think I’ll change gears and root for the Rams, for my friends Rick